There it is.
Drip.
Drip.
Drip.
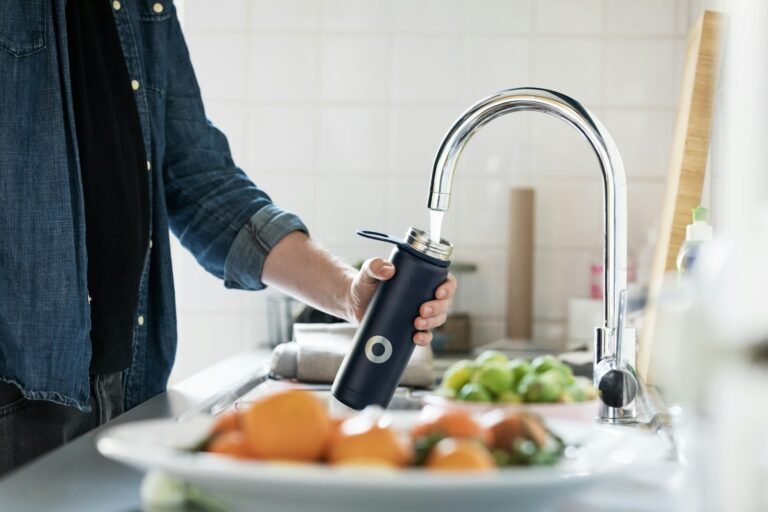
Your kitchen faucet is leaking, and not in a romantic rain-on-the-roof kind of way. It’s more like “watch your water bill cry” kind of way.
If you’ve got a single-handle faucet, good news: you don’t need to be a plumber or own 47 wrenches to fix it. You just need a little patience, a few tools, and the courage to Google “What is a cartridge valve?”
Let’s fix that leak like the DIY legend you were born to be.
🧰 What You’ll Need:
- Adjustable wrench or pliers
- Flathead screwdriver
- Allen wrench (usually 1/8-inch or 3/32)
- Replacement cartridge or rubber parts (cheap at any hardware store)
- Towel (for spills and your knees)
- Bowl (to hold screws you’ll definitely lose otherwise)
- Your calmest inner voice
🛠 Step-by-Step: Fixing the Drip
1. Turn Off the Water
Please, please do this first.
Look under your sink and twist the hot and cold valves to the right (clockwise) to shut them off.
Then turn on the faucet to release any leftover water.
(If water still flows like Niagara Falls, you turned off the wrong thing. Try again.)
2. Pop Off the Handle
There’s usually a little screw hidden under the hot/cold cap or behind the handle.
Use a flathead screwdriver or your fingernail to pop the cap off, then grab an Allen wrench to unscrew it.
Pull the handle off gently. It may be stuck, so wiggle like you’re politely waking a cat.
3. Remove the Retaining Nut
Under the handle, you’ll see a nut holding the cartridge in place. Use your wrench or pliers to unscrew it.
If it’s crusty with old mineral deposits, feel free to grumble and blame the water company.
4. Take Out the Cartridge (Or Rubber Seals)
This is the part that usually causes the leak.
Pull it straight up. You might need to wiggle it a little or use pliers.
Important: Take the cartridge (or the rubber gaskets and springs, depending on your faucet type) with you to the hardware store so you get an exact match. You do not want to come home with the wrong part and a slowly growing faucet grudge.
5. Install the New Part
Once you’ve got the replacement:
- Drop the new cartridge (or seals) into the same spot.
- Make sure it’s aligned properly—there’s usually a notch or tab that guides it.
- Screw the retaining nut back on snugly. No need to Hulk-smash it.
6. Put It Back Together
- Slide the handle back on.
- Tighten the screw with your Allen wrench.
- Pop the little cap back on like the cherry on a sad, watery sundae.
7. Turn the Water Back On
Slowly turn the water valves under the sink back on.
Then test the faucet.
No leak? No drip?
You did it.
Your kitchen is now 57% more majestic.
🧼 Final Thoughts: You Fixed the Drip Without Losing Your Cool
Fixing a leaky single-handle faucet isn’t rocket science. It’s more like Lego for adults—but wetter. And with fewer instructions.
Now you’ve saved water, money, and maybe your sanity.
Plus, you’ve earned the right to casually say, “Yeah, I fixed the faucet last weekend” like it was nothing.
(Just don’t mention how long you stared at the cartridge in aisle 7 before figuring out what to buy.)
One Comment